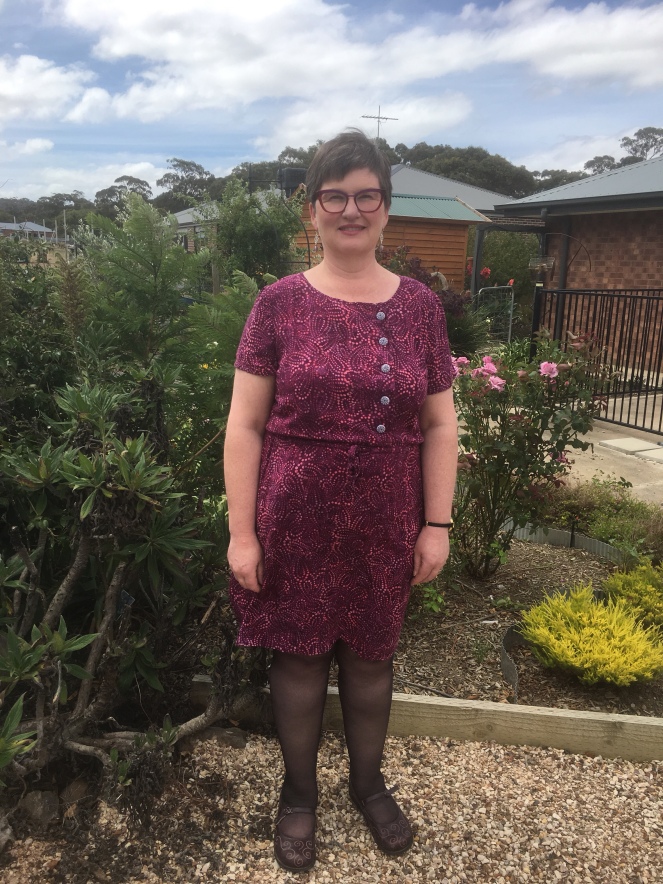
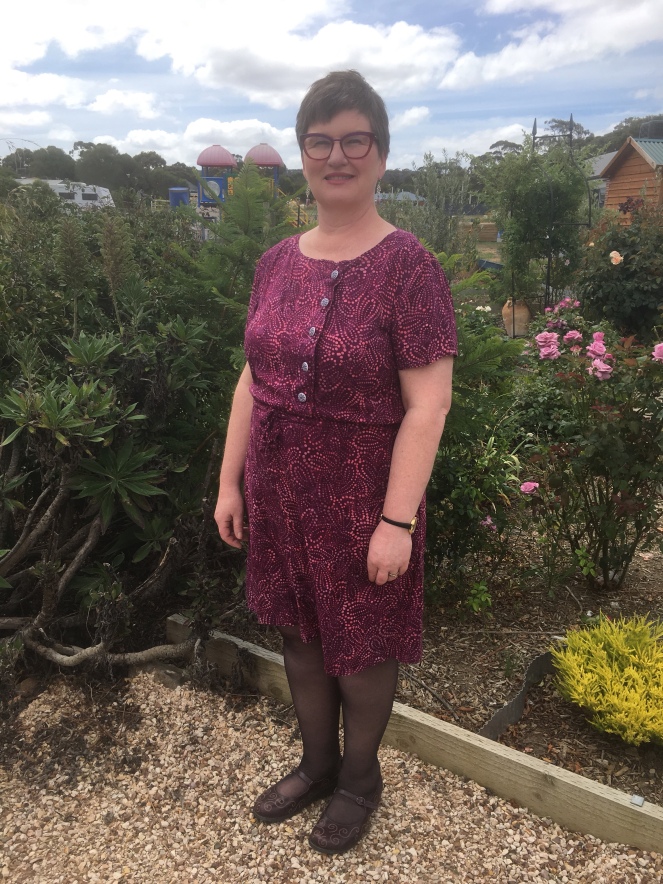
This pattern is a particular favourite of mine. I do love the understated style of this particular dress. It is comfortable to wear the more formal touch of the asymmetrical button up front makes this dress smart enough to be a good choice as a work outfit. The drawstring waist of this dress can be easily adjusted and the straightness of the skirt makes this dress very comfortable and practical for sitting for long periods of time at a desk. I brought this pattern as soon as Jennifer Lauren released this pattern back at the end of August. I could see the potential of this dress as one of my favourite work dresses straight away and of course the 20% off introductory offer was too good to resist!
I did make my first version out of a beautiful batik printed rayon straight away. I wanted to make the longer sleeve version but had to settle for short sleeves due to lack of fabric. I brought a bolt end and although I knew that this was a way shorter length than what it said on the pattern I brought the fabric anyway because I loved it! Try as I might I just was way too short for longer sleeves.
I recently went with a friend to Singapore and as we both love to sew we of course went fabric shopping. I brought lots of fabric and other things like buttons and sewing tools. We had a great time enjoyed all the sightseeing and food. The second Mayberry that I have just finished is made in some I think cotton poplin fabric that I brought in the People’s Park Textile Centre in Chinatown in Singapore.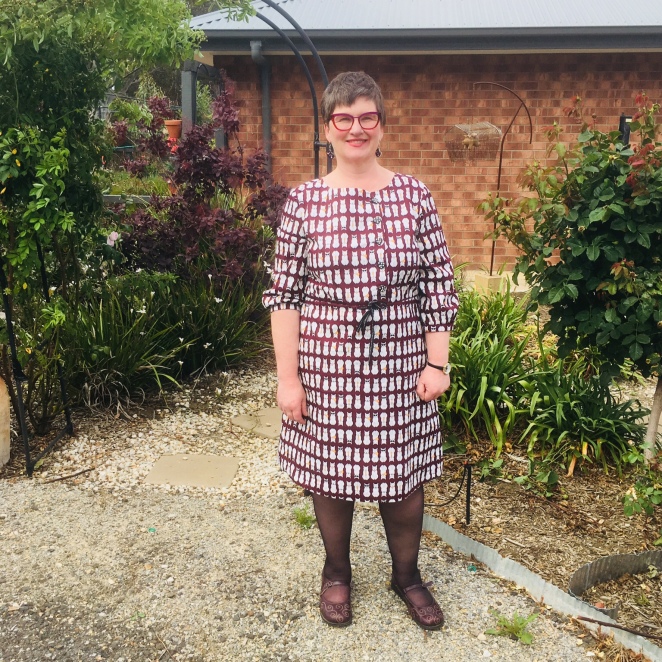
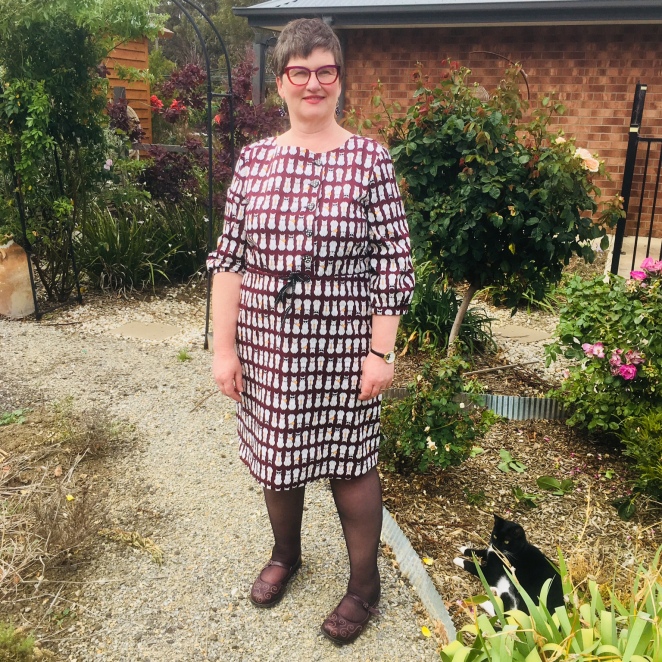
This fabric is stiffer but there is still enough drape for this design to work. I lengthened this version so it just covers my knees. I really like the design of these 3/4 length sleeves.
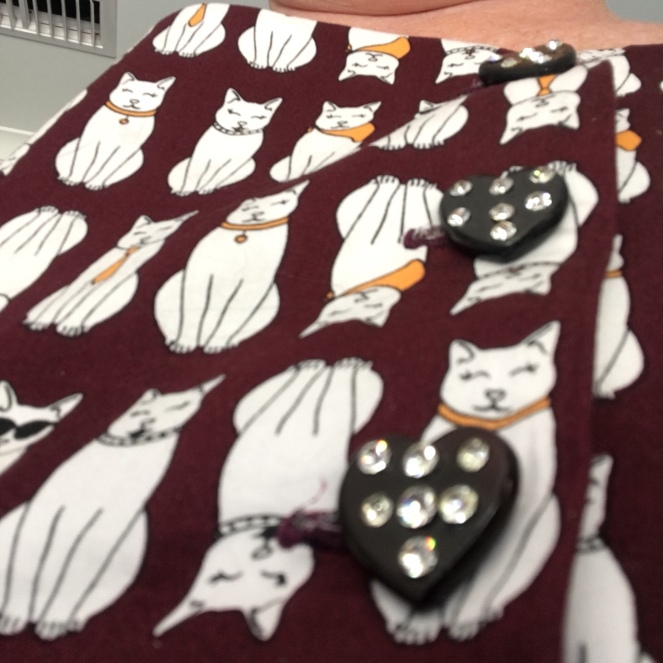
I love these sparkly heart shaped buttons that I got from a shop in Arab street Singapore.
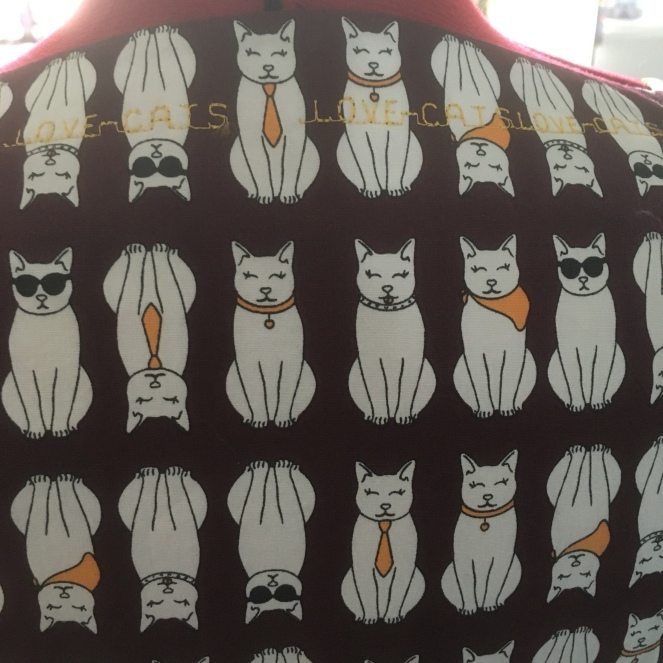
This is an innovation that I am quite proud of. I wanted to secure the back neck facing and had the idea of using this as an opportunity to do some sort of label. I had a brain wave and decided this was the perfect opportunity to get my Bernina sewing machine to do some lettering. This is a great way of permanently anchoring the back facing and adding a really neat design touch. I will do this again … next time I will program it to sew “anakiequilter”.
Here is my formal review of the Mayberry dress pattern.
- Fit: I made this dress in size 18 with b cup bodice, it seems to fit perfectly though I did discover that the top button was sewn a little bit away from where it should have been. I have since moved the button and now the neckline sits where it should. I added 5 cm to the length of the cat dress so that it just covers my knees. I am 165 cm in height.
-
Construction/instructions: I made an effort to follow the instructions step by step and found them to be very clear and logical. I personally have been sewing for more than 30 years and so would tend to use the instructions only when I came across something that I had not done before. But I did find that the instructions were very sensible and simple. I would normally do two lines of gathering stitches at about 10 to 15 mm from the edge rather than just one 3mm in as Jennifer advises in this pattern. This 3 mm approach does makes sense as gathering the fabric close to the edge means less strain on the thread and that it does not break which means that two lines of gathering stitches is a waste of time. You just have to make sure that the gathers are evenly distributed which is easy to achieve as you sew since you are not stitching anywhere near the gathering stitches. Learnt something new! In terms of the construction this is a very straightforward project.
-
Pattern printing: I printed on to A4 and used my home printer. I love the fact that the pattern prints out in chunks so that you don’t end up with a single huge sheet but several smaller ones instead. This is genius and makes all the difference.
